





From the Fleece Team: Protect your new fuel system investment: Why fuel tank inspection matters before installation.
Should you clean the fuel tank before installing a PowerFlo® or SureFlo®?
In this post, our Sales and Service team explains how and why you should clean and inspect the fuel tank in your truck prior to installing a Fleece Performance PowerFlo® lift pump or SureFlo® sending unit.
Answer: The fuel tank is like a window into your fuel system. Inspecting the fuel tank is the single best way to gauge its condition. It is for this reason that when installing every PowerFlo® or SureFlo®, we recommend taking the time to inspect and clean the fuel tank.
Contamination is one of the leading causes of preventable fuel system damage. Contamination can include many substances and can come from multiple sources. The two main types of contamination will include sediment and microbial buildup. Sediment is a collection of particles that buildup in fuel due to water, natural fuel breakdown, rust, or dirt entering the system. Microbial buildup occurs from both water collection in the fuel system and the introduction of microbes.
Sediment can be addressed by simply emptying and cleaning the fuel tank. Once the tank is cleaned and everything is reinstalled, you should also change and inspect the fuel filter. After the truck has run for about 1,000 miles it is best to change the filters once more to ensure all debris has been caught. This change will also help determine whether the debris came from an outside source and has been eliminated, or if a part of the fuel system is causing the deposits. If substantial debris is still present after this point, more action may be needed to fully address this concern. It is recommended to consult an automotive professional for further diagnosis.
Microbial contamination, sometimes referred to as algae, will typically settle on the sides of the fuel tank. This type of contamination can include yeast, bacteria, or fungi that enter the fuel system through vents or contaminated fuel delivery tools. Diesel fuel also contains hydrocarbons that feed microbes. They produce a slimy film that is acidic and coats various parts of the fuel system. Due to the acidic nature of this coating, it can lead to damage of any fuel system component that the film maintains consistent contact with. The best way to address this type of contamination is by cleaning the tank out with a suitable detergent and treating the fuel system with a biocide. Follow this with replacement of both fuel filters as well as an added
change after about 1,000 miles.
Steps to Complete:
1. Drain the fuel tank into a clean bucket or pail.
Some fuel tanks are outfitted with a drain plug that can be pulled to drain the fuel. In applications where the tank does not have a drain plug, a siphon may be required. Inspect the condition of the fuel removed from the tank and determine whether filtration prior to use is necessary. Fuel drained from the vehicle may be contaminated and must be handled and disposed of properly. Collect all drained fuel in an approved container. Do not discharge fuel onto the ground, into drains, or with household waste. Dispose of contaminated fuel through an authorized hazardous waste or recycling facility in accordance with all applicable local, state, and federal regulations.
2. Remove the fuel tank from the truck.
Use a transmission jack or floor jack to support the tank during removal. Remove all appropriate connections from the fuel tank such as the electrical connector to a stock sending unit, fuel lines, or the fill tube.
3. Clean the top of the fuel tank
To prevent any contamination after the internal cleaning of the fuel tank is complete, clean the top of the fuel tank. Using a brush or compressed air, sweep off any debris sitting on the top of the tank. Then with a clean shop rag wipe down the top surface of the tank, paying special attention to the top of the stock sending unit.
4. Remove the stock sending unit and begin the internal inspection of the fuel tank.
Inspect the inside of the fuel tank and the condition of any remaining fuel. Once the condition of the remaining fuel is noted it can be removed for reuse later or discarded. This step will remove the first layer of water or sludge in the tank if it is present.
5. Clean the fuel tank.
Once the tank is empty, begin mechanically cleaning the inside of the tank. Mechanical cleaning can be done using plastic bristled brushes and scrapers. These will physically remove any debris or residue stuck to the inside of the tank. In cases of microbial contamination, scrubbing the tank is especially important due to the thick film that algae forms on the tank wall. Scrubbing physically loosens and removes this layer.
After scrubbing the tank, flush it with clean diesel fuel or an appropriate cleaning solution. Flush the tank several times to remove any debris created during scrubbing. Once the fluid runs clear, and is free of debris, dry the fuel tank thoroughly. This can be done with a lint-free cloth, or the tank can be allowed to air dry. The tank must be completely dry before reinstallation as any residual moisture can encourage microbial growth.
Apply a biocide treatment if microbial contamination was present initially, or if no microbial growth was present, the use of a fuel treatment is recommended to prevent this type of contamination.
6. Post-cleaning and Long-term Maintenance
Reassemble the fuel system and replace all fuel filters. After cleaning a fuel tank, old filters could clog shortly afterward, especially if microbial growth is the cause for contamination. Changing the filters after cleaning the tank will prevent clogging and keep debris from reaching vital parts of the vehicle's fuel system.
Long-term prevention for contamination involves minimizing water in the fuel system, and being mindful of fuel sources and the tools used for filling. Keeping the fuel tank as full as possible is one of the most effective ways to minimize water in the fuel system. This limits the amount of air in the tank and prevents condensation from forming. In addition to regularly filling the fuel tank, water collection can also be minimized by regularly draining the water separator. This allows any water at the bottom of the system to drain. For microbial concerns, it is also recommended to use a regular fuel treatment to prevent the growth of algae. When filling your fuel tank, try to source fuel from service stations that are known to have high traffic, and avoid sourcing fuel from farm or job site tanks. This will ensure your vehicle always has a fresh supply of fuel and reduces the possibility of receiving contaminated fuel from the service station itself. Inspect and clean all fuel jugs before use.
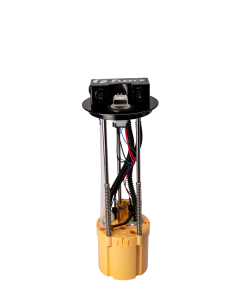
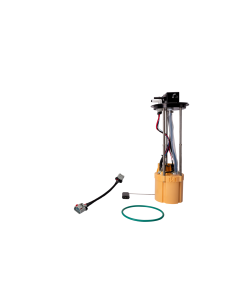
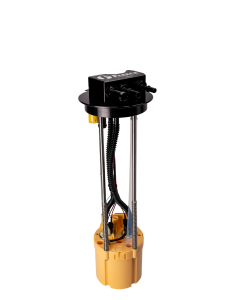
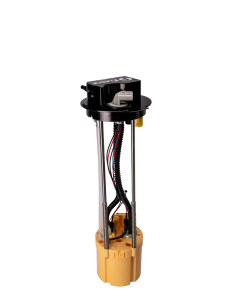
When installing a PowerFlo® lift pump or SureFlo® sending unit, taking the time to perform this inspection and remove contaminants helps protect your newest fuel system investment. If left unaddressed, contamination can find its way into your new SureFlo® sending unit or PowerFlo® lift pump, which can lead to accelerated wear and tear on the part or premature failure.


Related Products
IMPORTANT: We will not be shipping product between the dates of July 5th and July 11th. All orders will be processed and shipped the week of July 12th.
While we are closed take advantage of 5% off MSRP!